
I transformed a Daiso tissue pouch with a carabiner into a Porsche pattern.
Well, I suddenly got the urge to start a new project: promoting Porsche.
I made a tissue case using the instructions for handmade fan crafts that I'd seen several times on social media before.
The first thing I bought was this "carabiner-attached tissue pouch" from Daiso.
The price is 110 yen.
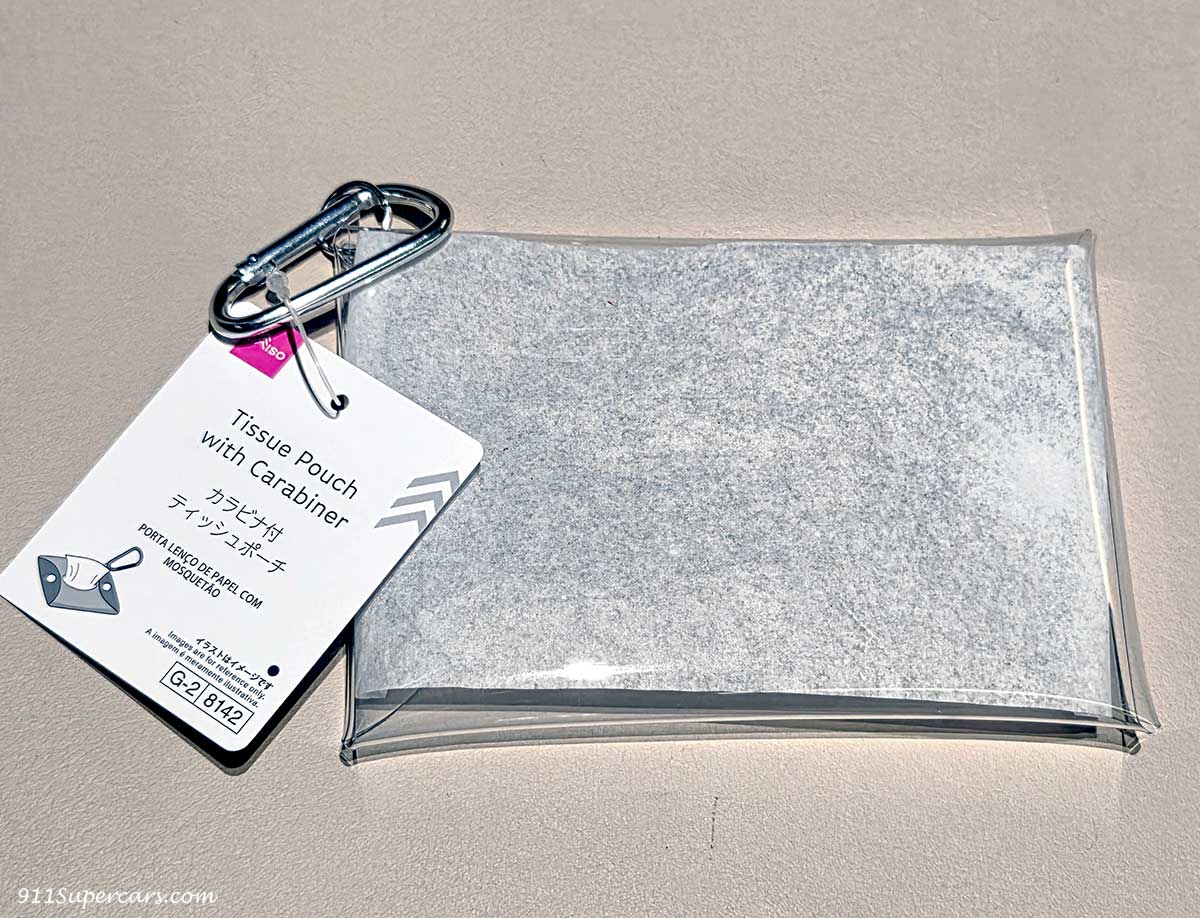
This may appear whitish, but that's only because it's sold with a thin piece of paper inside the tissue pouch; the product itself is actually transparent.
The size is the same as the pocket tissues that are handed out on the street.
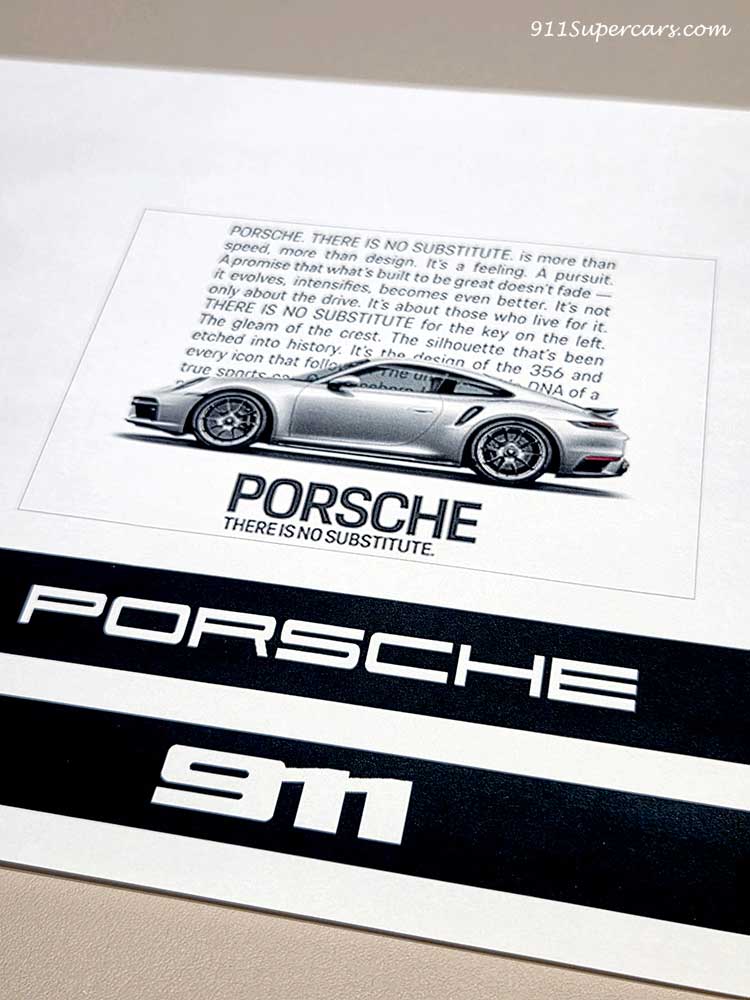
Designed using Porsche Poster Studio
First, print the design you want to put on this tissue pouch.
The base design isPorsche Poster StudioI created this using "[...]".
What is the Porsche Poster Studio?
Porsche Poster Studio is a service that allows you to create your own original Porsche 911 poster. The designs you create can be enjoyed as wallpapers on your PC or smartphone, or printed out and displayed in person.
I wanted to include the phrase "PORSCHE There is no substitute" this time, so I designed it like this.
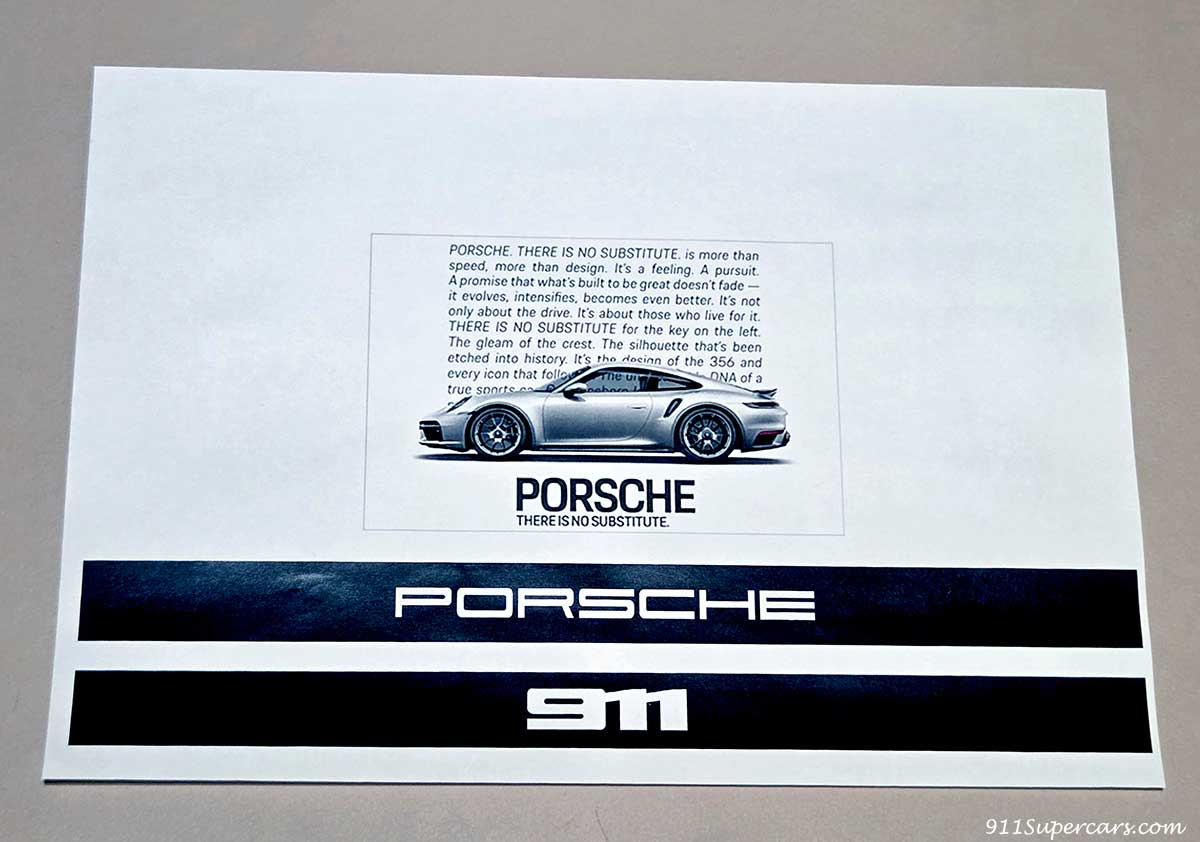
Before printing, make sure to adjust the size to match the tissue box before printing.
This printout will be done at a convenience store (※because it will be printed using a laser printer, not an inkjet printer. If you have a color laser printer at home, that's fine).
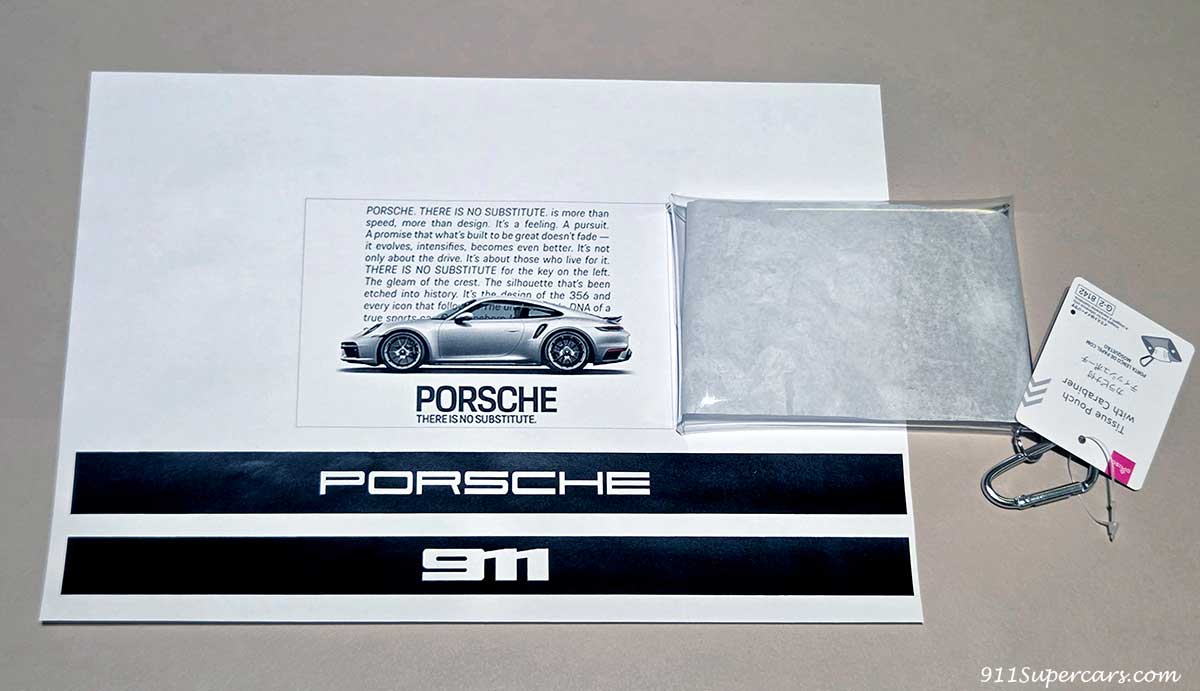
I wanted a cool look, so this time I went with a monochrome feel using mainly white, black, and gray.
Next, we'll transfer this printed design onto the tissue pouch.
I used the crumpled paper that was included as cushioning material in the package that arrived at the time as a base layer, so I apologize for the unsightly appearance of the paper underneath.
I tend to try to make do with whatever's around...
So, I laid down some paper or something, spread out the tissue pouch on top, and secured it with masking tape.
Next, I cut out the designed sheet and secured it with masking tape, with the side I want to transfer facing down. The haphazardness of the tape application also largely reflects my personality.
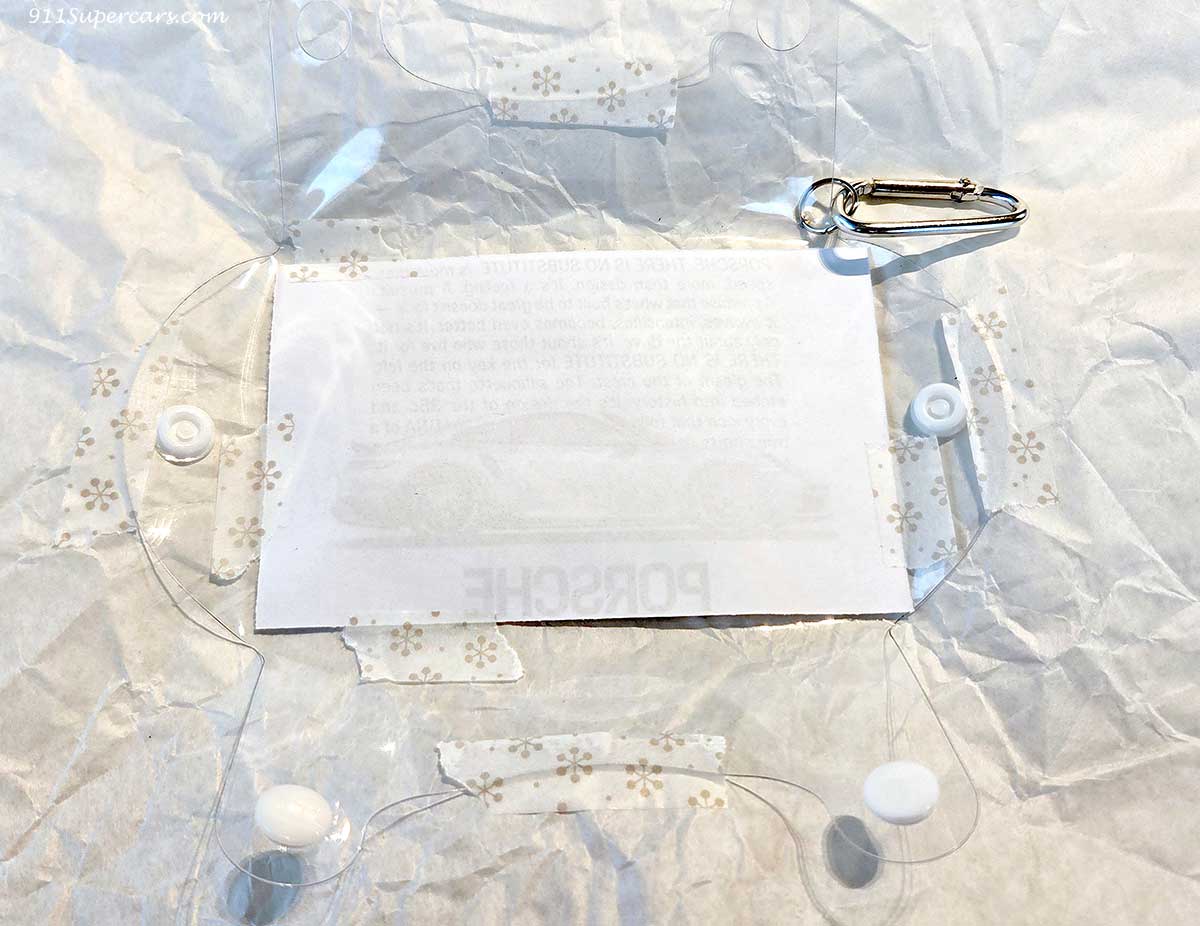
I was working diligently by myself, so I apologize for not having any photos of the process from here on, but I poured acetone-free nail polish remover, which I also bought at Daiso for 110 yen, over the paper that was fixed in place, and then rubbed it with a ruler or something similar.
I covered the ruler with a paper towel and rubbed it vigorously.
Basically, you rub the design from the printed paper onto the pouch below so that it transfers to the surface.
I cautiously peeled off the paper on which the design was printed... Wow! It's transferred! Awesome!
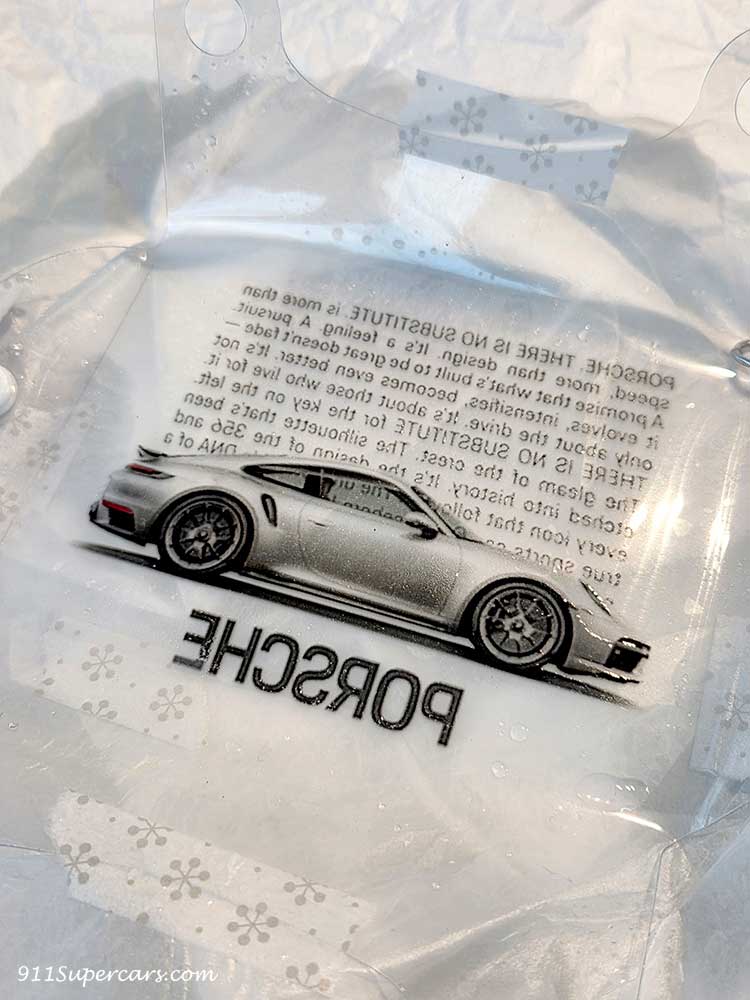
Next, you may recall that when you printed on the A4 paper earlier, some of the black stripes had "PORSCHE" or "911" written on them. Cut those out as well and transfer them to the top and bottom edges of the front side of the paper in the same way.
This is what it looks like when it's finished.
Wow, what is this? It's so cool...
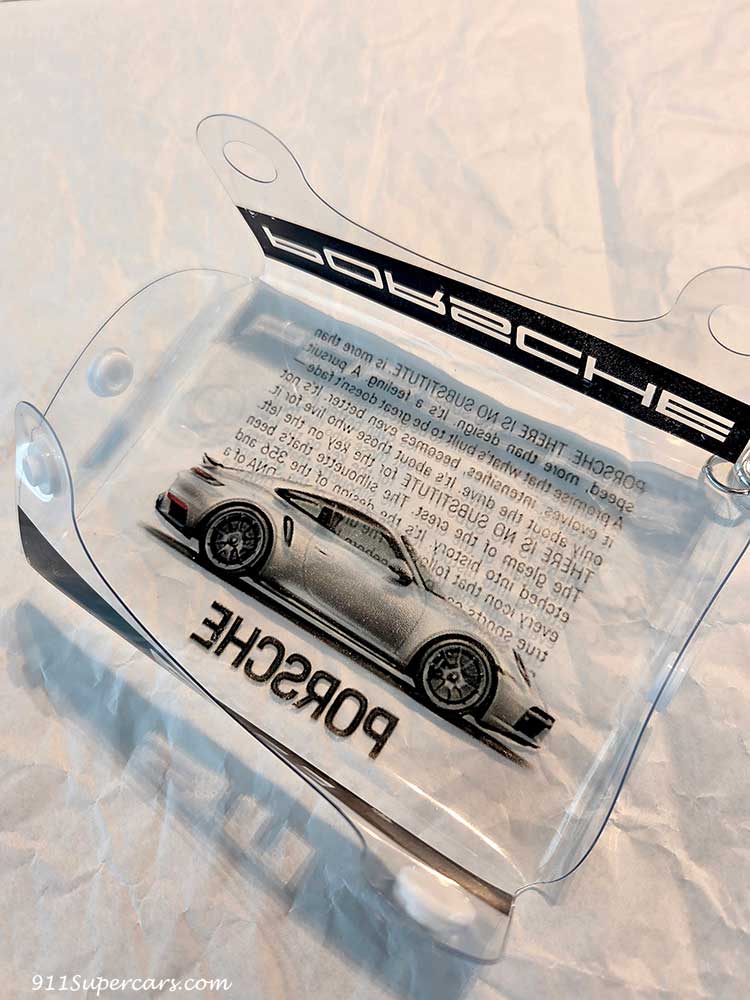
When I turned the main part of the transfer over (so that the side you see when using it is facing up), it looked like this.
Oh my, isn't it perfect?
But you know.
Actually, it's not perfect.
There are minor issues, such as the black band not being transferred properly, but those aren't the only things that make it imperfect.
Actually... if you look closely, you'll see that the "There is no substitute" text below "PORSCHE" that was there when it was printed is missing (lol). That's no good!
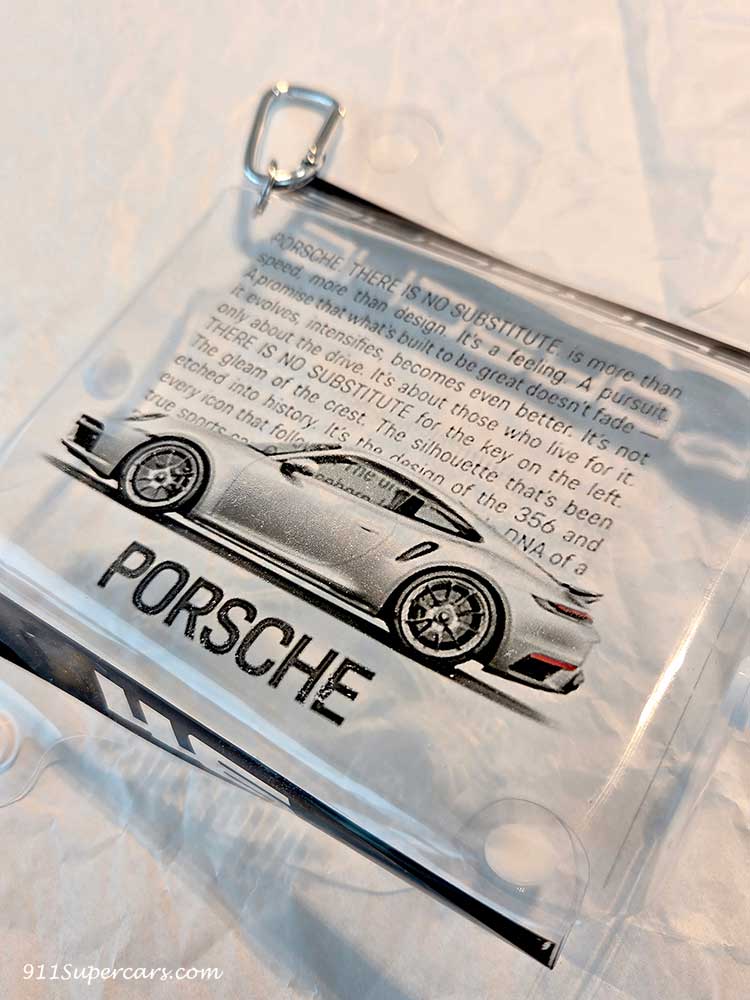
Well, actually, when I printed it on A4 paper and then cut it to the size of this tissue pouch, I, being a typical Type B personality, didn't measure properly and just went with my gut feeling, and cut it thinking, "This should be about right," but I ended up cutting off the part that says "There is no substitute."
Hahaha.
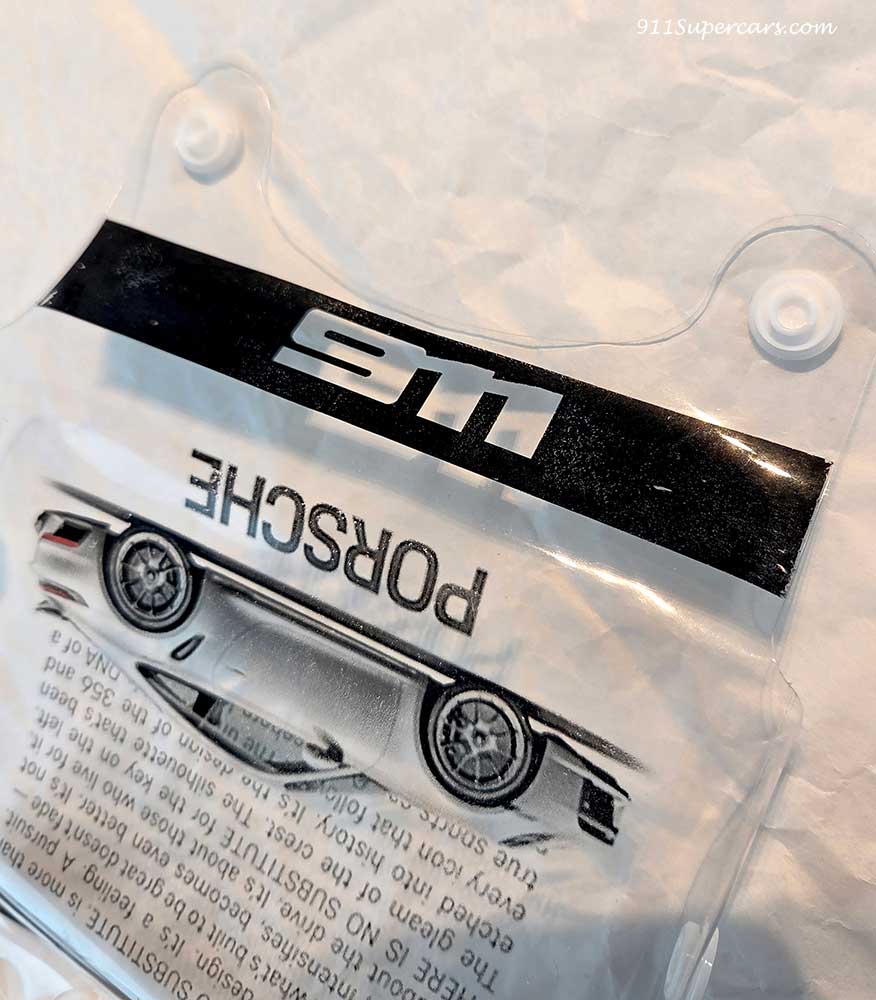
Well, even so, now that it's finished, I think it turned out quite nicely, so I'm very satisfied and it's OK! (There's no way I, being lazy, would make it again.)
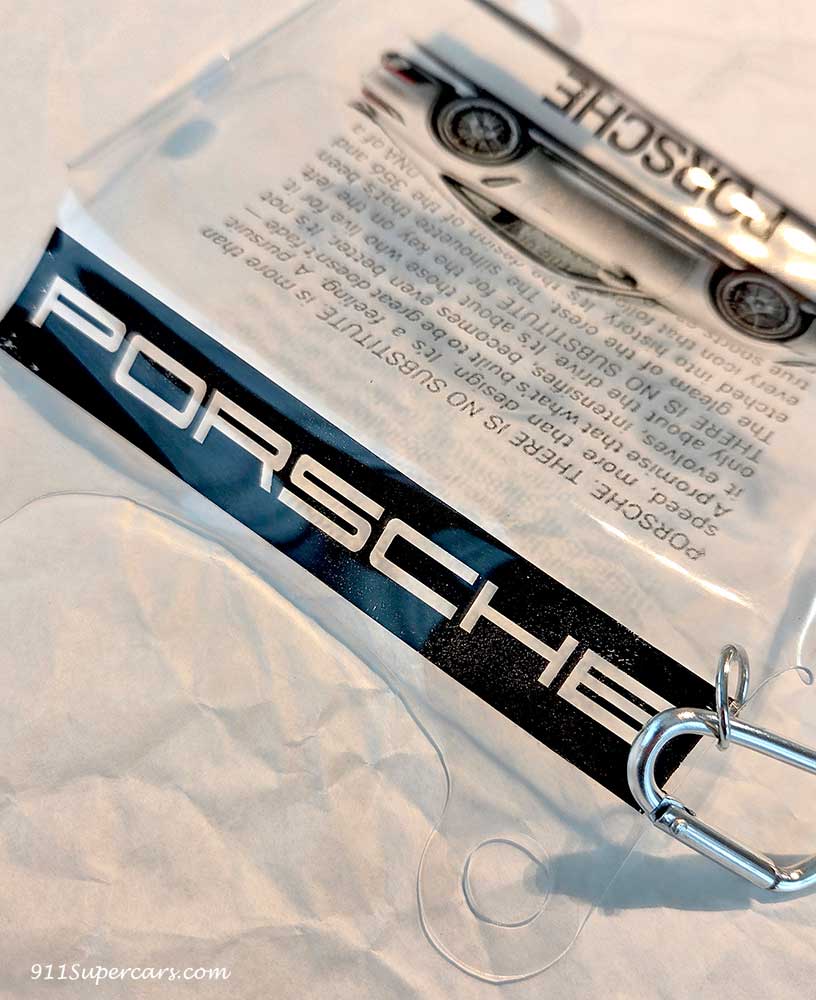
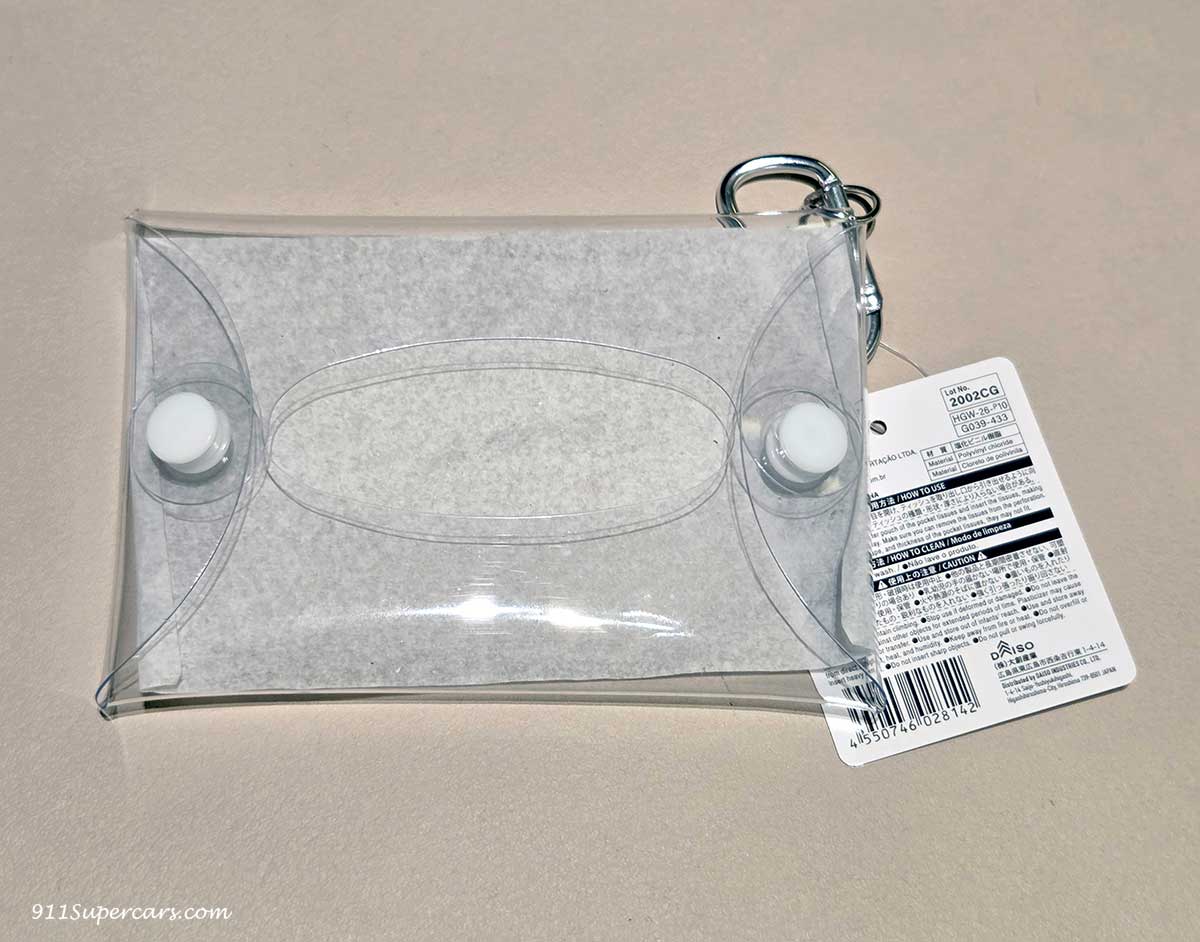
When you fasten the buttons and make it into a tissue pouch, it looks like this. This is the finished product.
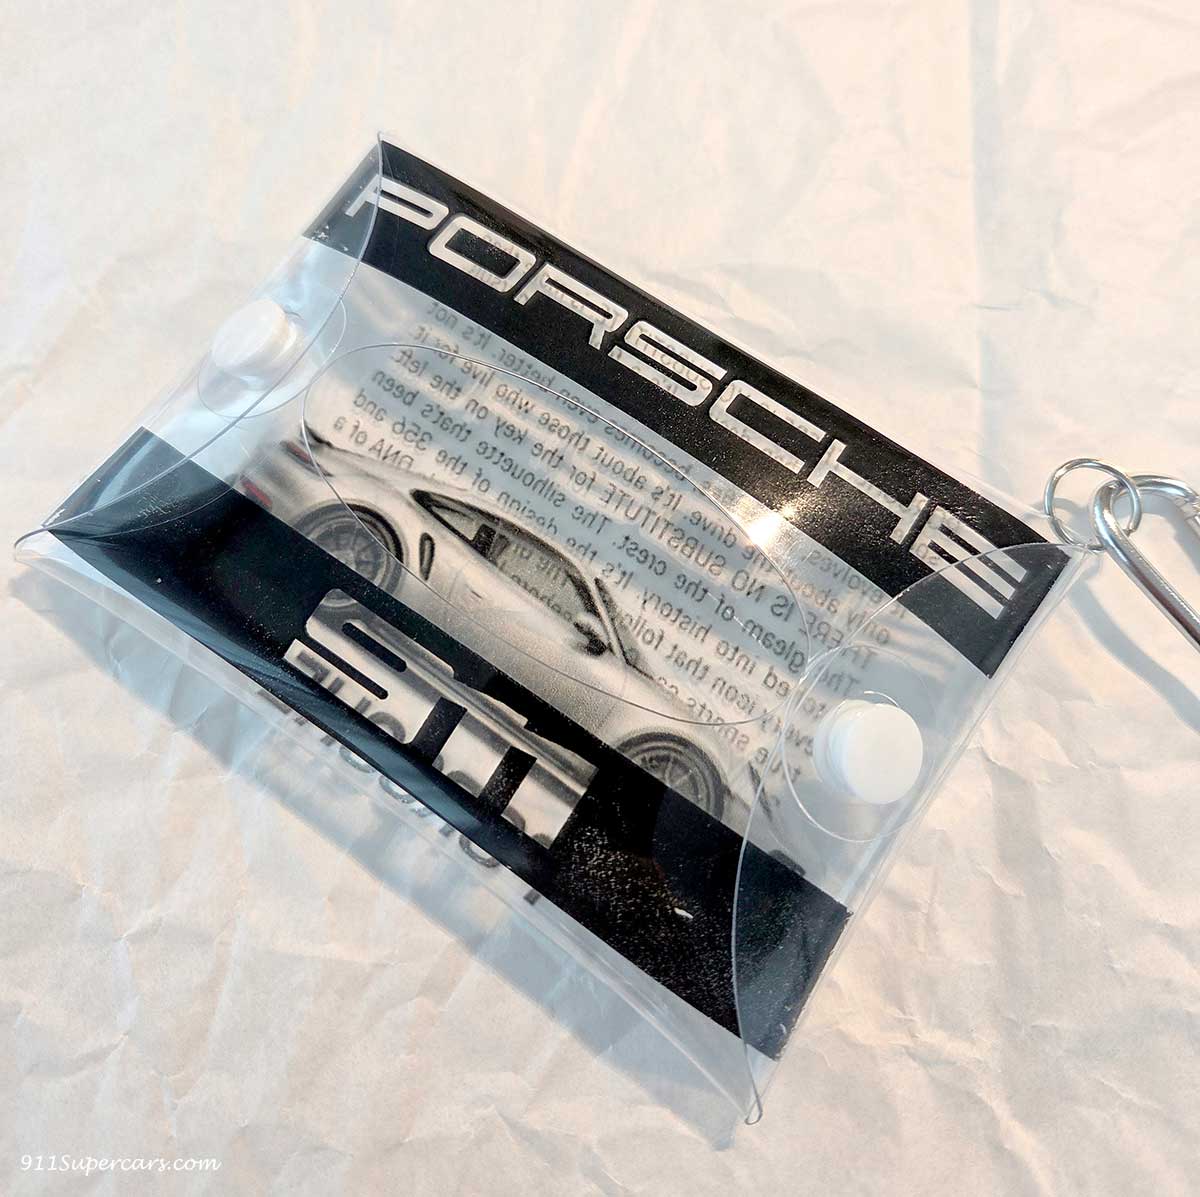
The other side. The design isn't very visible because there's no tissue inside, but see below.
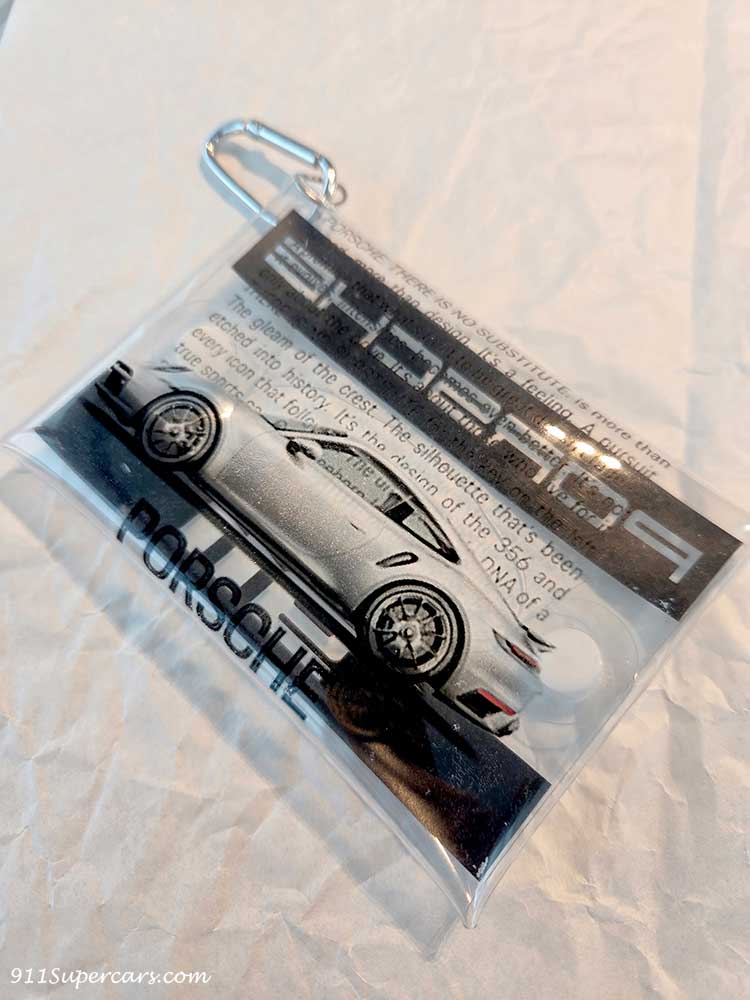
The final step is to apply this "shatterproof film" over the design that was transferred earlier.
It seems you don't have to stick it on, but if you don't, the transferred design might come off, so it's safer to stick it on.
This is also a product from Daiso (I think), but it costs 300 yen.
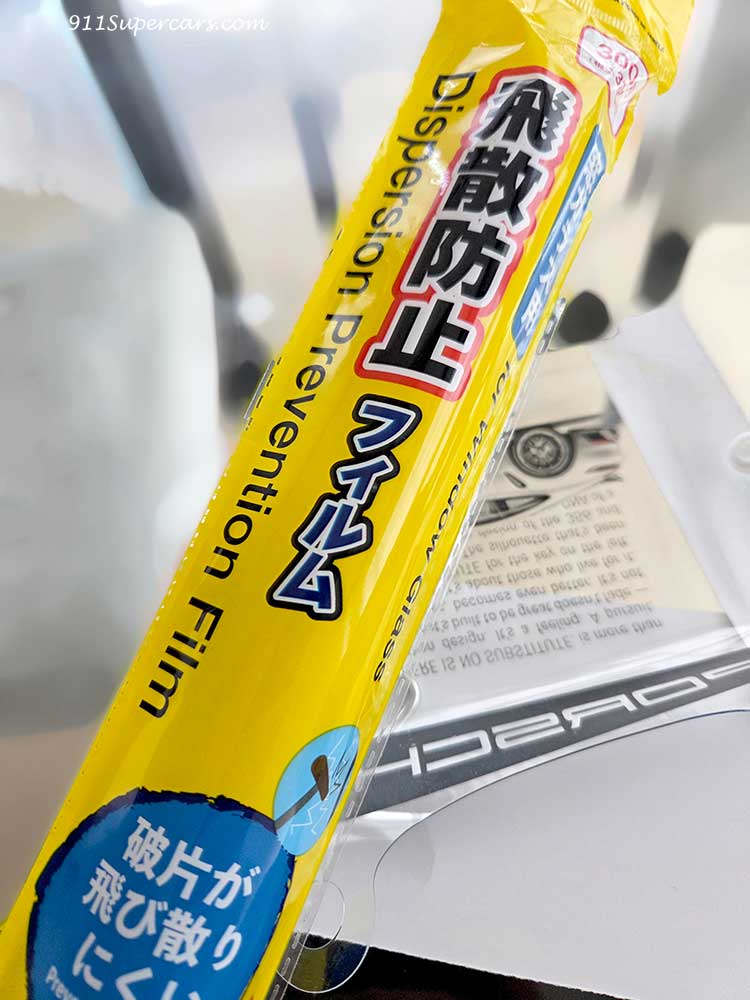
After sticking it on, I'd like to try putting a pack of pocket tissues inside.
I need pocket tissues with plain packaging, not the kind that's gentle on the nose like Hana Celeb.
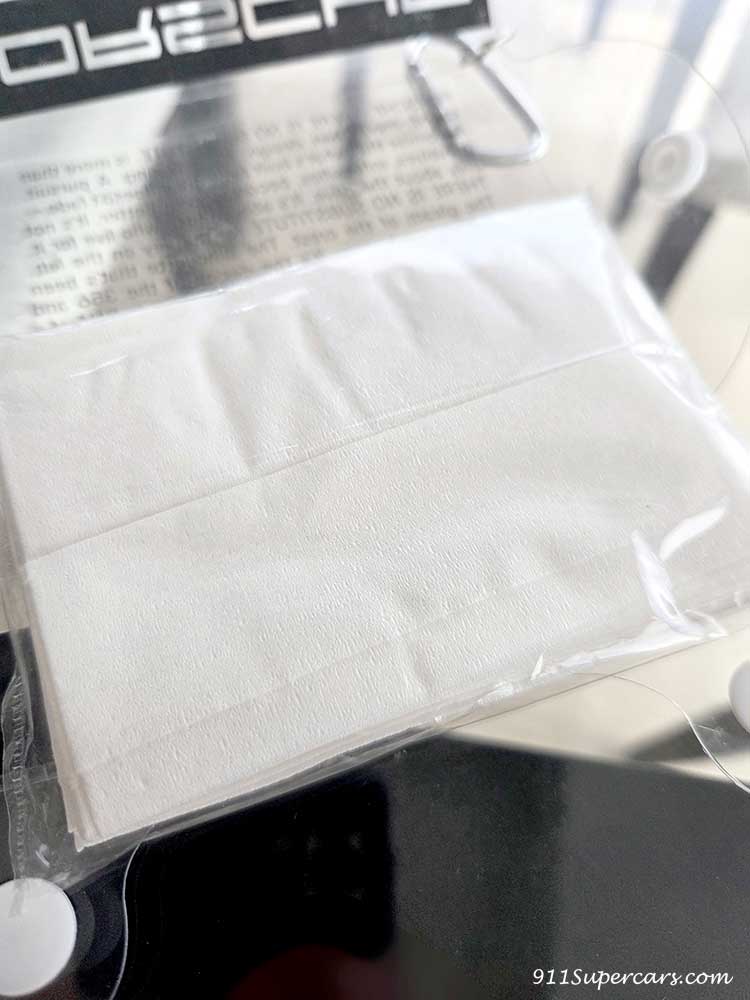
This is what it looks like when you put it in.
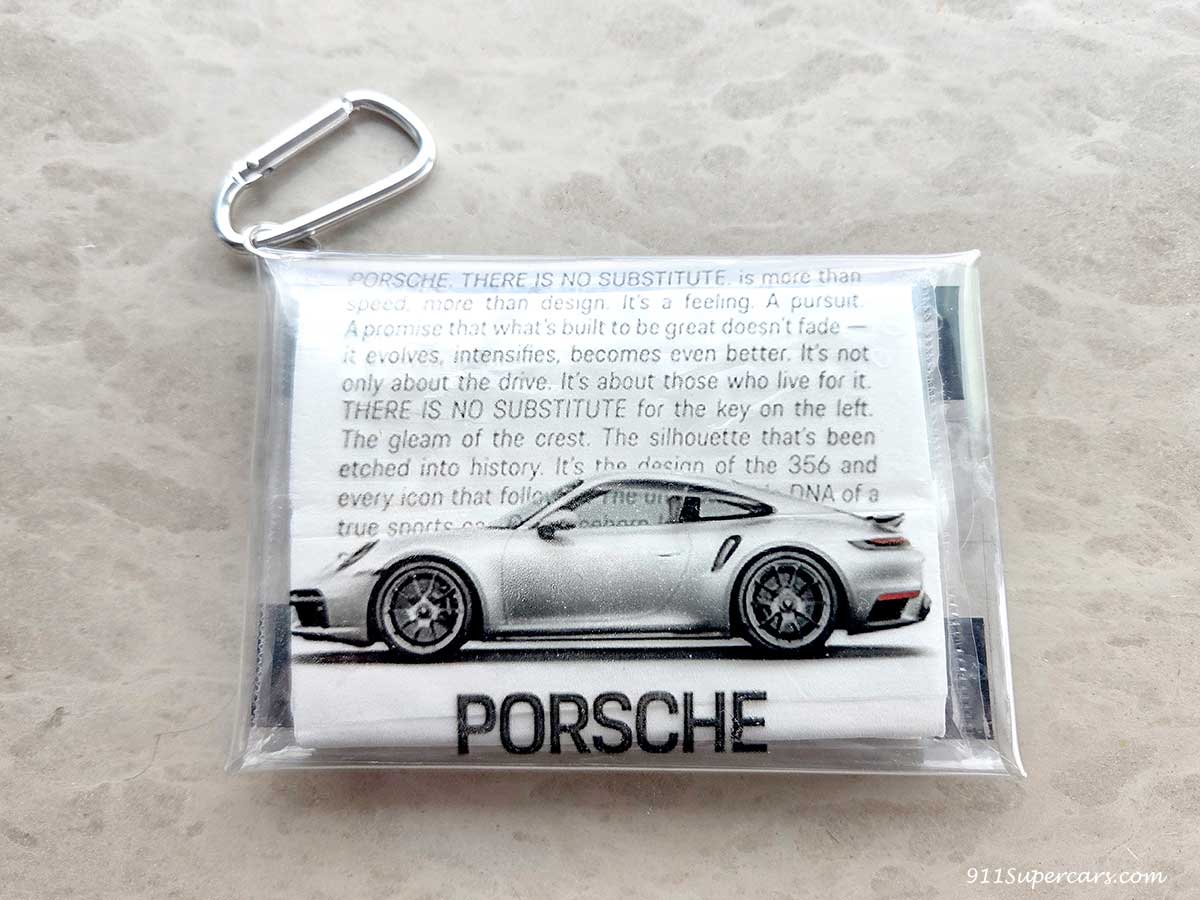
Is this the front? I think. The side where you pull out the tissue ↓
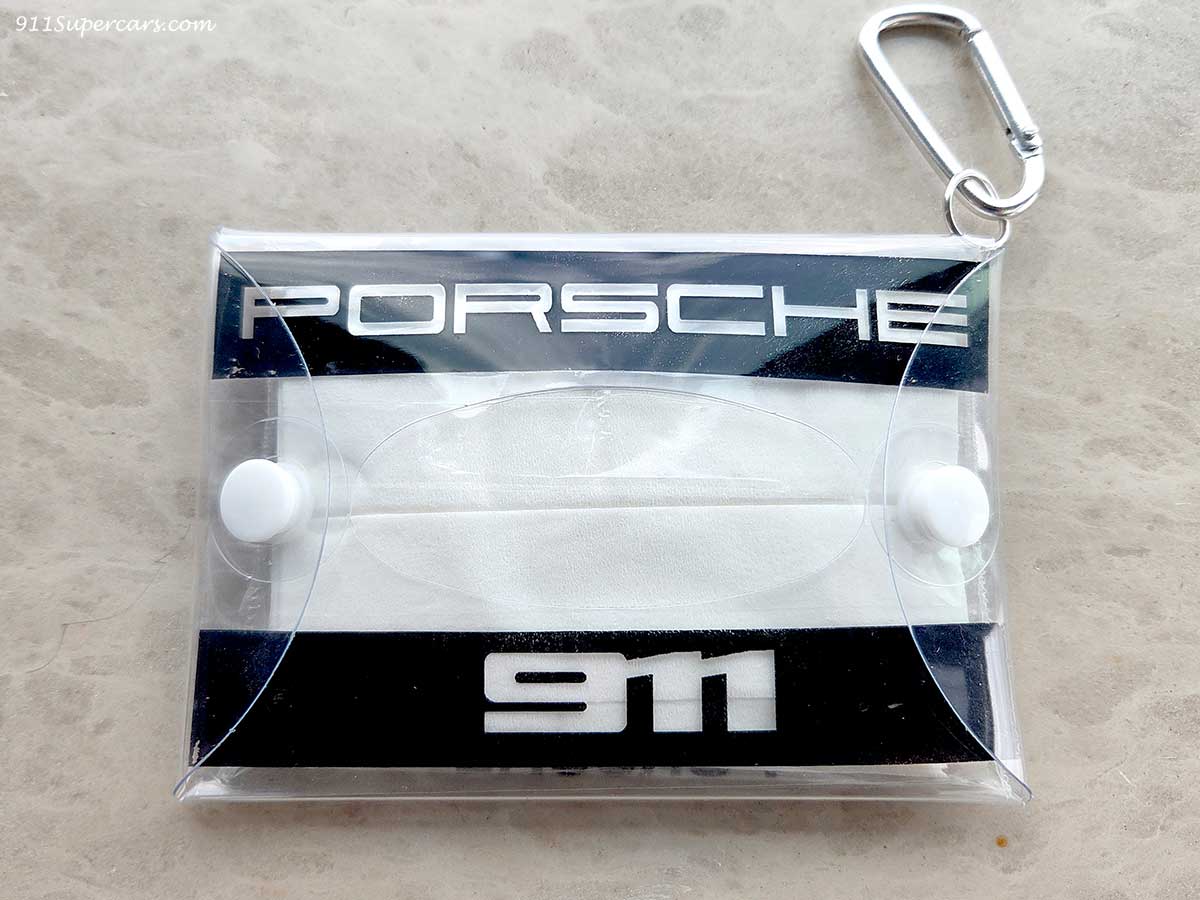
Since it comes with a carabiner, it might be convenient to attach it to a bag or something similar.
Having said that, I'm probably just satisfied with having made it, and I don't know if I'll actually use the tissues from now on (lol), but I might wear it to the Porsche event.
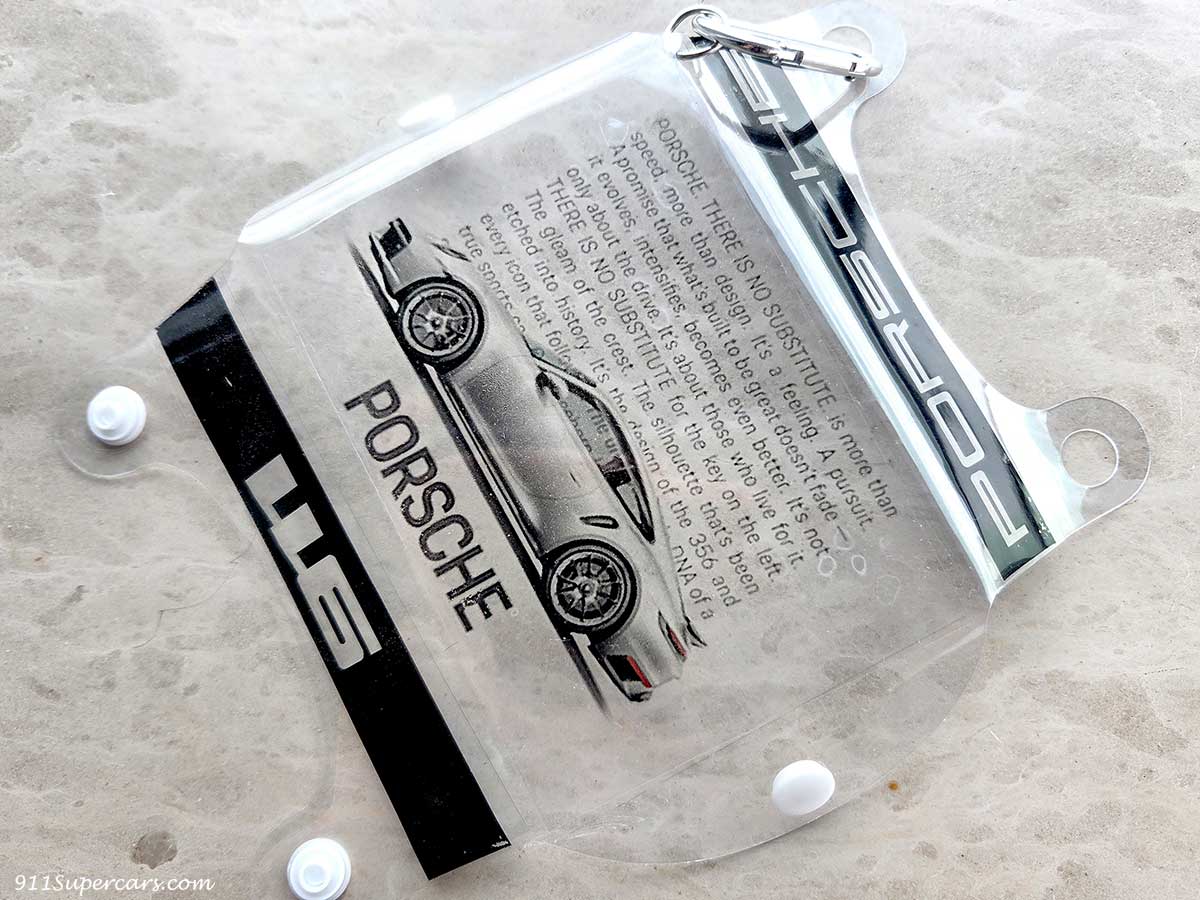
If you saw me at the event and need a tissue, please let me know (lol).
My first Porsche fan activity was so much fun!
I don't know if there will be a second installment ^^
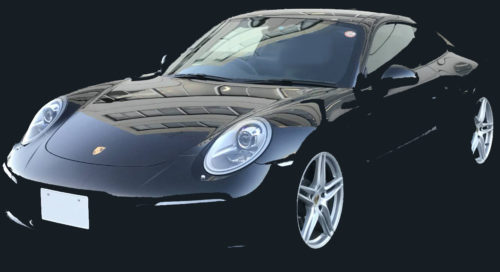
I'm Rika, the author of this article. Since I got my hands on a Porsche 911, I've been completely hooked on Porsches and I can't stop loving them, so I started this blog. My favorite cars are the 911 Carrera (2/991), 911 Carrera Cabriolet & 911 Carrera T (1/992), GT3 (1/997) and 718 Cayman GT4 RS.
 English
  Japanese