For perfect protection film construction of Porsche 911 GT3 RS
America is in CaliforniaA shop called POSHHowever, in order to put a protection film on the Porsche 911 GT3 RS "not roughly, but on the entire surface", the work of dismantling the GT3 RS quite daringly was released.
The place where the Porsche 911 GT3 RS is dismantled is not so seen, so I would like to see it ^ ^
In order to apply the protection film perfectly, it seems that this shop worked after disassembling the Porsche 911 GT3 RS so far ↓
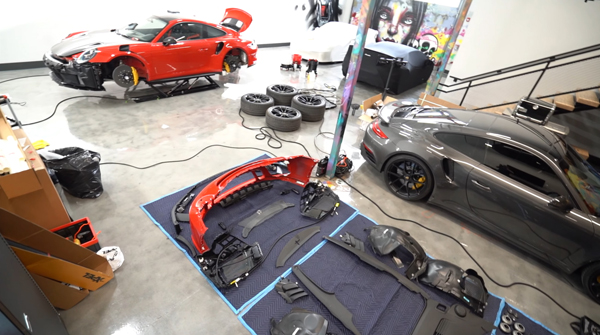
Dismantling because there are areas where you cannot access the edges etc. to attach the protection film unless you remove some parts of the exterior.
So, it seems that I dared to remove some exterior parts like this and applied the protection film "really to the whole body" instead of "almost all".
First of all, from the removal of the large rear wing of GT3RS.
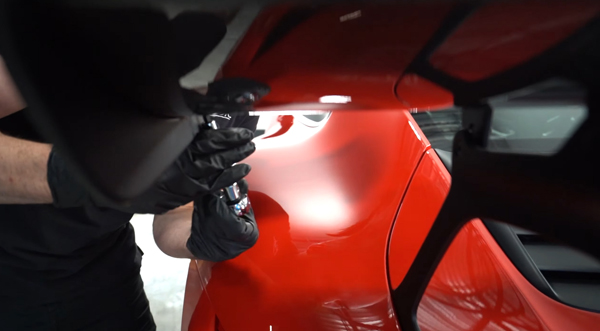
By removing the fixed T25 screw, remove the end plate of the wing (the black part that is slightly attached to the left and right of the wing),
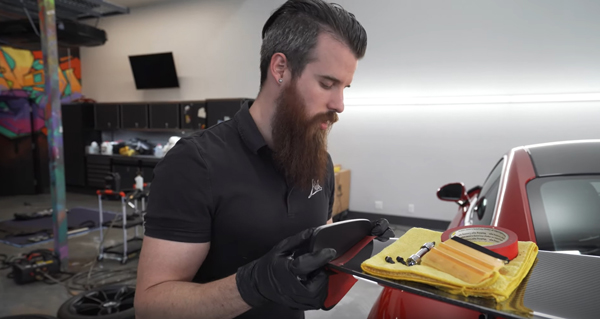
After that, the plate is separated, and the wing itself is fixed with a T30 screw, so it is OK if you remove it.
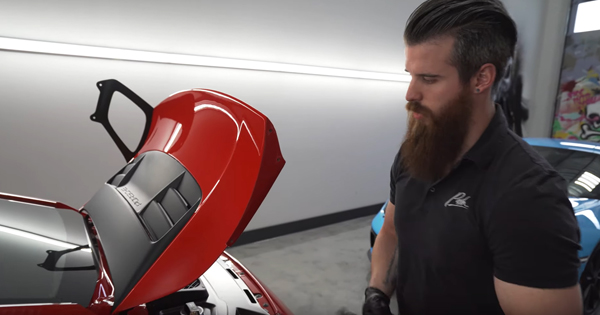
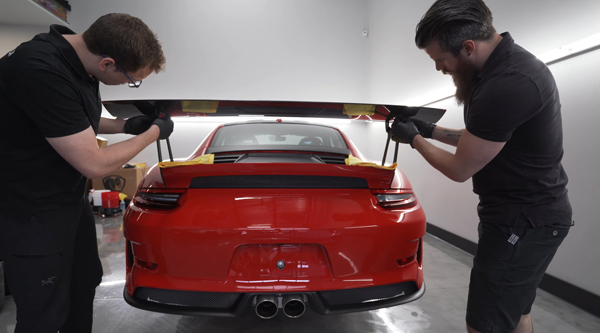
Once the wings are removed, the taillights continue.
It is said that the tail light is installed only with T25, and it was really installed with only two T25s. Surprisingly simple.
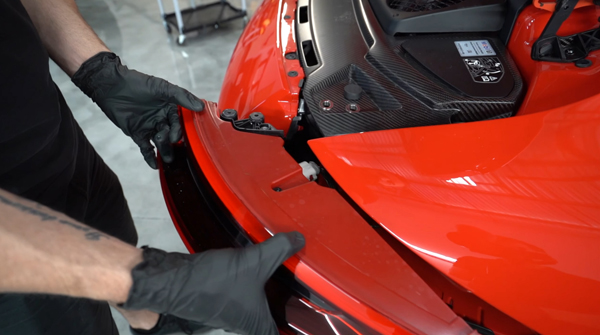
After removing these, remove the wiring connected to the light, and the removal of the tail light is completed.
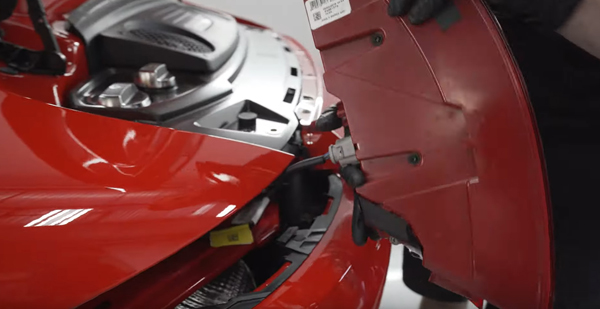
Next, remove the air intake part (this is not fixed with screws in particular, so you can pull it out by hand ...!).
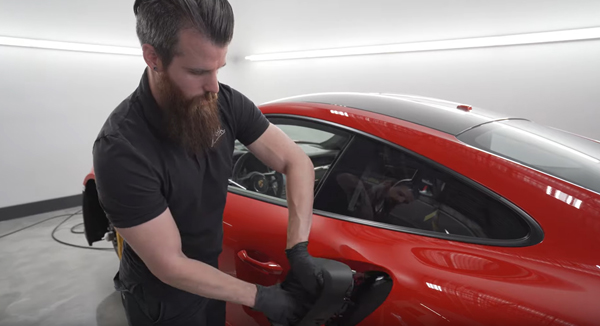
Next, remove the black part at the top of the engine cover. It is fixed with 7 T25s.
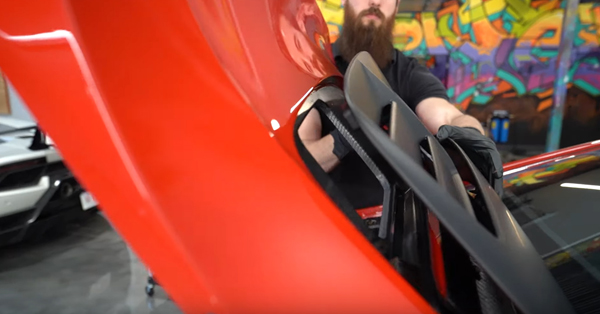
Furthermore, the part below the black AmiAmi below it.

This is fixed by 11 T25s.
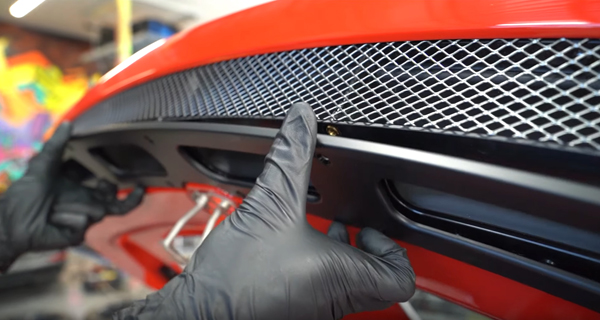
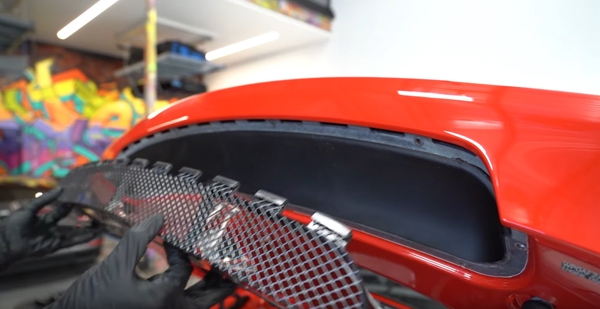
Next, I will also take AmiAmi.
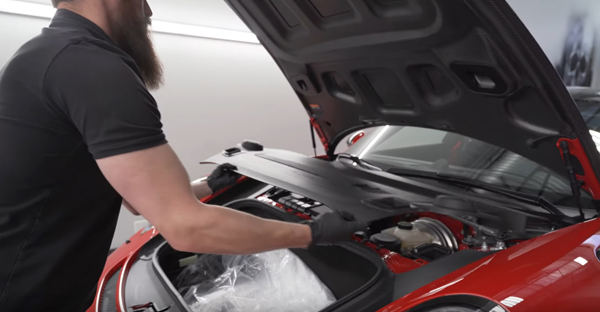
Go to the front and remove the hood trim on the inside of the trunk.
The black part on the side around the trunk is also removed (just pull it off)
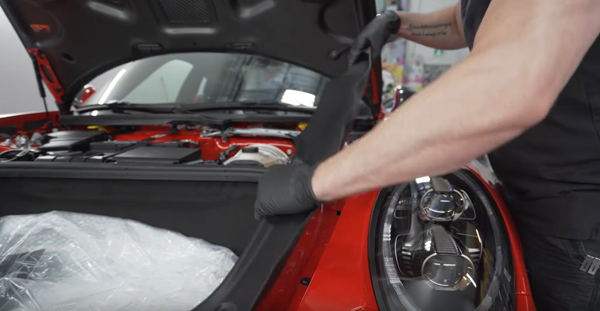
I also take the black part of the front.
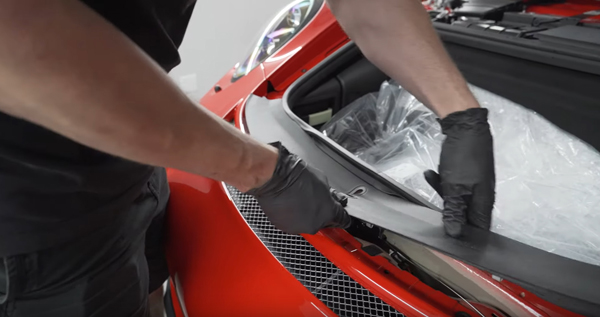
The front lip is fixed with 16 T27s, so remove it and remove the lip as well.
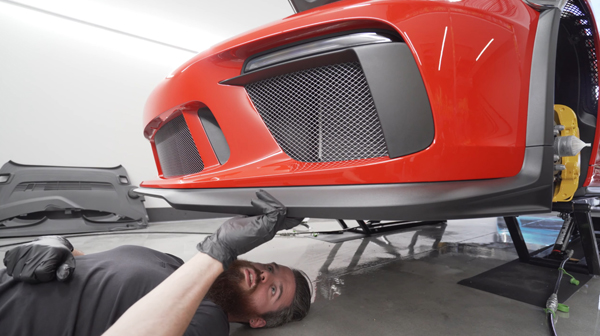
After removing the bolt, I was pulling it off.
If you don't understand this kind of thing, you can't pull it because you're scared ... (Well, in general, why don't you do it yourself ^^).
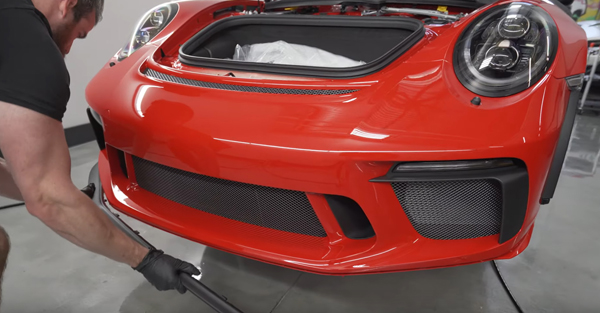
Also pull the blinker to remove it and pull out the cord to which the light is connected.
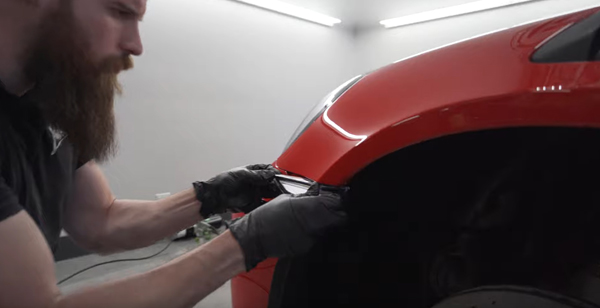
To remove this fender louver, first ...
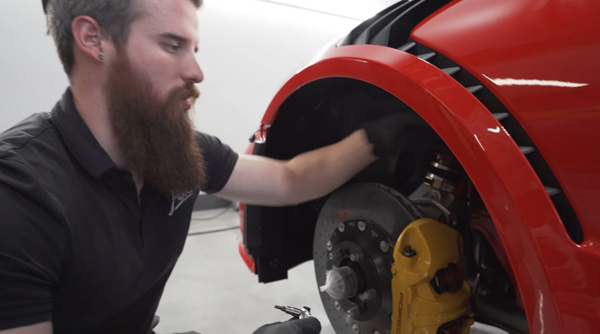
Remove the inner part where the tire will fit.
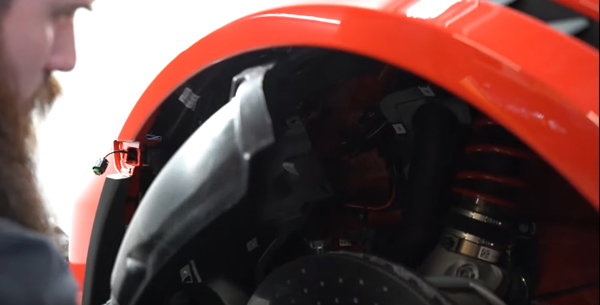
If you remove the inner part, you will be able to remove the black part attached to the front part of the tire house, so remove the T25 and remove it as well.
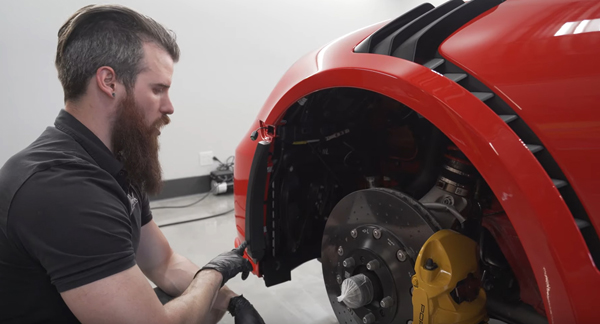
I also took the headlight washer ...
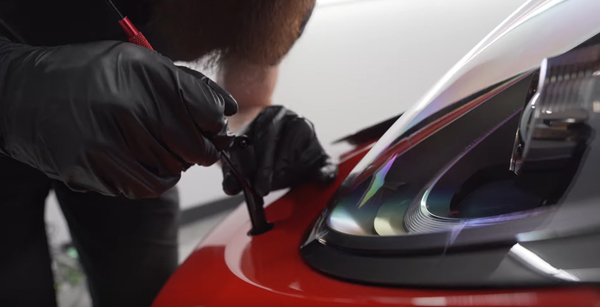
At the end, after using some thin tools ...
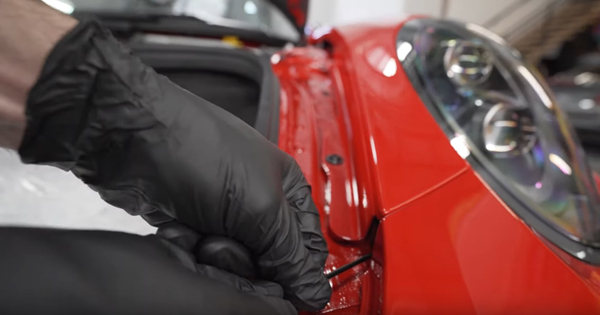
I removed the front bumper.
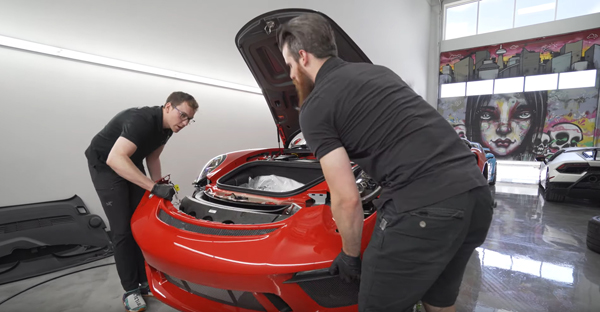
Next, I also take the headlights, but it is said that the headlights can be snapped off by sliding it toward you.
Hmmm, that's right ... I don't have a chance to use this even if I learn it (laughs).
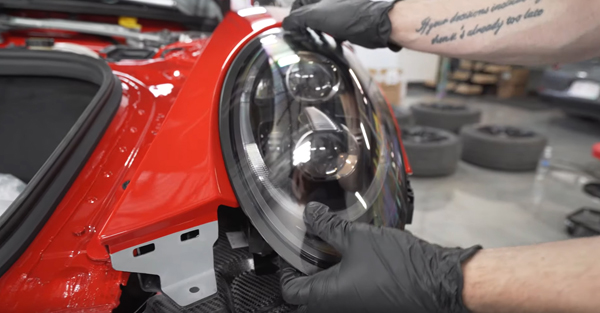
Finally, the front louver that was able to be removed by removing the inside of the tire house earlier was removed from the bottom, and the dismantling was completed.
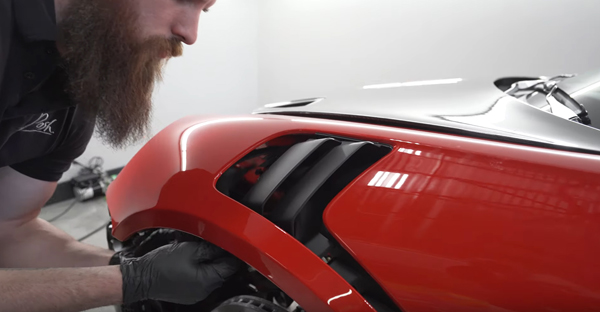
After dismantling this much, he seems to be the first to say, "Because the edges have been put out in various places, I can put a protection film on everything neatly." Professional degree is high!
Of course, because it has the ability to repair it properly because it is disassembled, I thought it would be great to have a shop that has the technology and is particular about the details so far.
This time, above all, it was very interesting to be able to see how various GT3RS parts are fixed and how they can be taken ^ ^
But after all, I can't stand to see my 911 being disassembled, so even though I'm interested in this kind of structure, there is also a contradiction that I don't want to see it much (especially in my car) (laughs). Hmm.
Porsche 911 GT3 RS dismantling video
Here is a series of videos ↓
In addition, there is also a video of the work of pasting the protection film on this GT3RS after this, so please also check it out ~ ^ ^
Source:Porsche 911 GT3 RS Completely Disassembled for Detail Job

